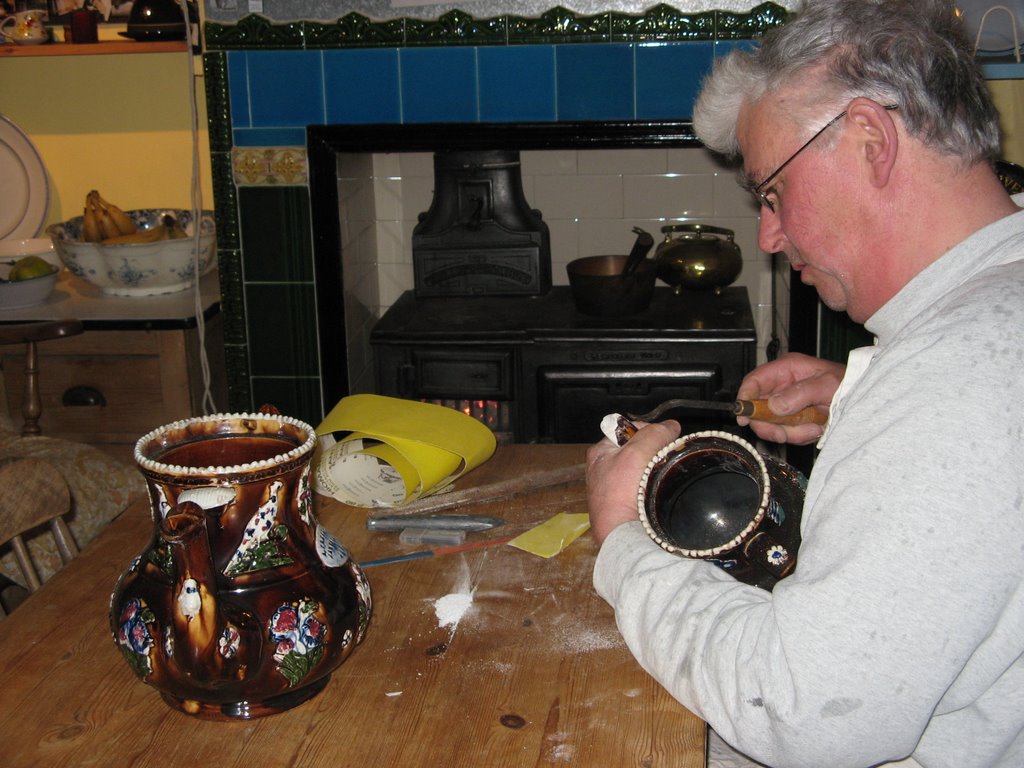
Spurred on by my last post here, Jim started work on the 'project' teapot last night. An attempt had already been made to repair the badly broken spout, but it wasn't finished, and was in the wrong style. So, using one of the other teapots as a model, Jim set about rebuilding it. Sometimes it's easier to remove previous repairs completely and start again from scratch, but in this case the old repair was fairly sound, so he cut it down using a hacksaw, file and finally a Stanley blade, to provide a basis for building up a new one in the correct shape. The lug that holds the lid in place was also missing and a new one has been made.
 The new parts are made from Milliput, a resin-based clay putty which hardens without needing to be heated. This won't be the final finish though. Tonight Jim will be sanding it and finishing it with a finer coat of epoxy resin and china clay for a really smooth finish, that will then be sanded very finely, painted, and finally lacquered. Obviously, a new knob for the lid needs to be made too, and looking at some photos of various sizes and styles of teapots, we think this should be a tall acorn-shaped one, which will be quite a challenge.
Mild excitement - someone left some comments today on my Braunston photos. OK, one of them was to point out that I couldn't tell the difference between a Seffle and a Bolinder - it's a fair cop, I couldn't last year, but I can now - and I've amended it accordingly. It's very easy to leave comments on Webshots, so please feel free if you are having a look.
2 comments:
Hello Warrior People,
I read your blog daily and enjoy all of your postings. Thank you for maintaining your blog and sharing your adventures with the world. It's a great read and I love the pictures.
Best wishes,
Mark
Thank you! Makes it all worthwhile to know people are reading.
Post a Comment